

Last night my wife and I hosted 25+ neighbors for a New Year’s Eve bash at our house. One of the features of the party that I wanted to have was a photobooth. Photobooths are a great way to get your guests into a partying spirit and capture the moments that they will enjoy. But to rent one from a professional photobooth company could cost you at least $600 for a 4 hour period. I wanted a photobooth but didn’t want to shell out that type of dough. (More on the advantages of paying for a photobooth company later).
In the end I was able to create a photobooth experience using just my mac laptop and a webcam and it turned out to be a fun feature of our New Year’s Eve party. Here’s how I did it.
Computer Setup for a DIY Photobooth
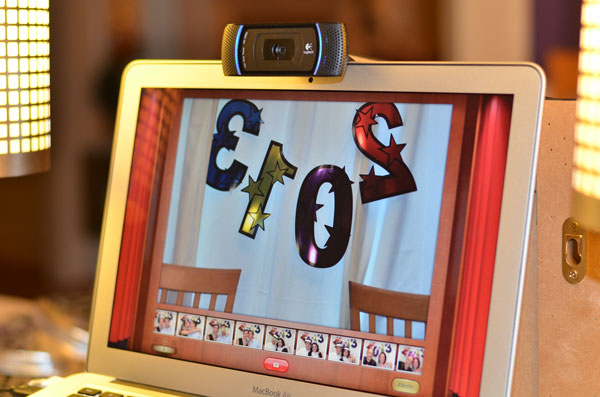
The basis of the idea evolved around the Apple Photobooth application on my MacBook Air. Photobooth is a free app that comes installed on all new Mac computers and it allows you to use your built-in webcam to take pictures of you and your friends photobooth style. It has a slick, simple interface with basically just one red button to push to enable the countdown timer and picture taking. I play around with the Photobooth app all the time with my kids so I was familiar with its capabilities and knew it was a good fit for what I wanted to achieve.
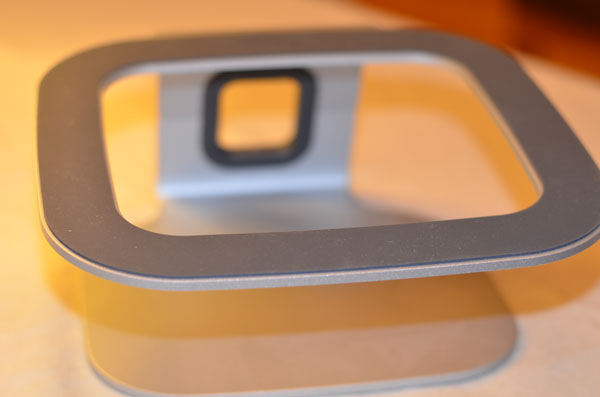
I placed my laptop on the table and knew immediately that it was too low to the ground to get a good camera angle using my webcam. Fortunately I own this Belkin laptop stand that gave it an additional 5 inches of height off the ground and gave me added reassurance that any spilled drinks would not hit my computer.
Location for a photobooth
So I knew I was going to use my laptop but now I needed to to plan where my photobooth would be. I wanted the photobooth to be in a place that was high trafficked but not in the way. Being a New Year’s Eve Party I knew there would be tons of focus on the television especially during the ball drop so I immediately ruled out the living room. I settled on my dining room which is adjacent to the living room and close to the front entrance.
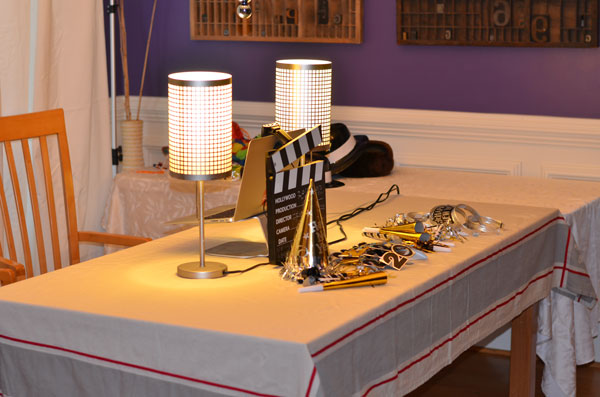
We have a chandelier hanging from the middle of the ceiling so I knew the dining room table would have to remain close to the center otherwise guests would be walking straight into it. I ended up pushing it towards one side of the room and forming an L shape with a second table. I did this to be able to control the flow of traffic and eliminate the risk of people tripping on power cords.
Backdrop for a photobooth
A backdrop is not necessary but a very nice thing to have for a photobooth setup in your home. Whether you like to believe it or not, your house is cluttered and the point of a backdrop is to minimize the distracting items in the background so you can concentrate on the party goer subjects. In my case the background were the blinds on my windows. I have a backdrop stand and a green screen and my initial thought was to hang my green screen and color key it out to add custom backgrounds. Once I set it up however, I realized there wasn’t nearly enough light to light the green screen properly and I did not want to create a minefield for my guests by setting up more lights and light stands.
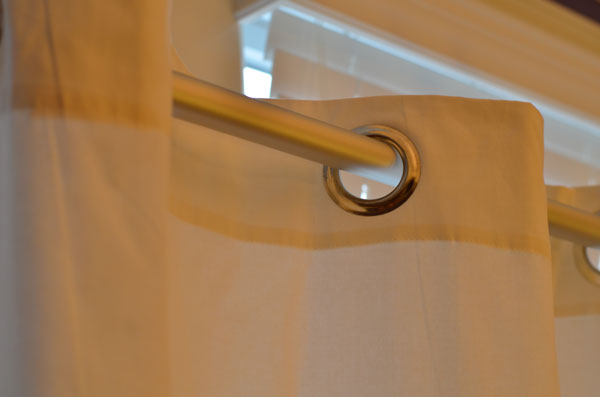
Instead, my wife had a great idea to use these canvas window curtains that we owned and never put up in our current house. These worked out so great as they are an off-white color to provide brightness but not blindness, and are thick enough to block out anything behind it. As a bonus they had eyelets already built-in so they were a breeze to hang with my backdrop stand.
Note: I happen to have some nice additional studio equipment but this is a nice to have not a requirement. You can totally get by with a sheet taped up behind you.
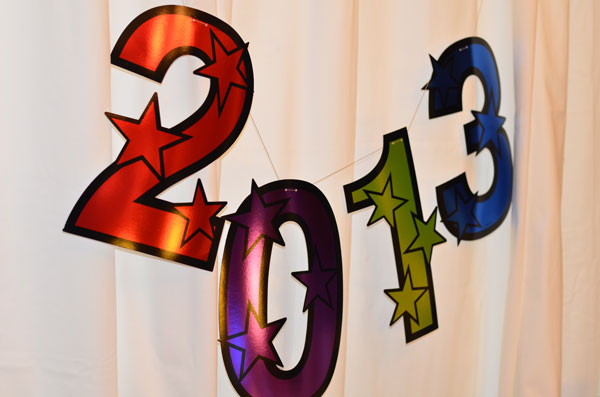
The final part of my backdrop was my “2013” sign. I wanted something to signify the New Year’s Eve theme but not something too distracting. This sign was perfect and will eliminate the need for me to date the pictures with a watermark in the future. I hung them with some clips at the crossbar of the backdrop stand.
Props for your photobooth
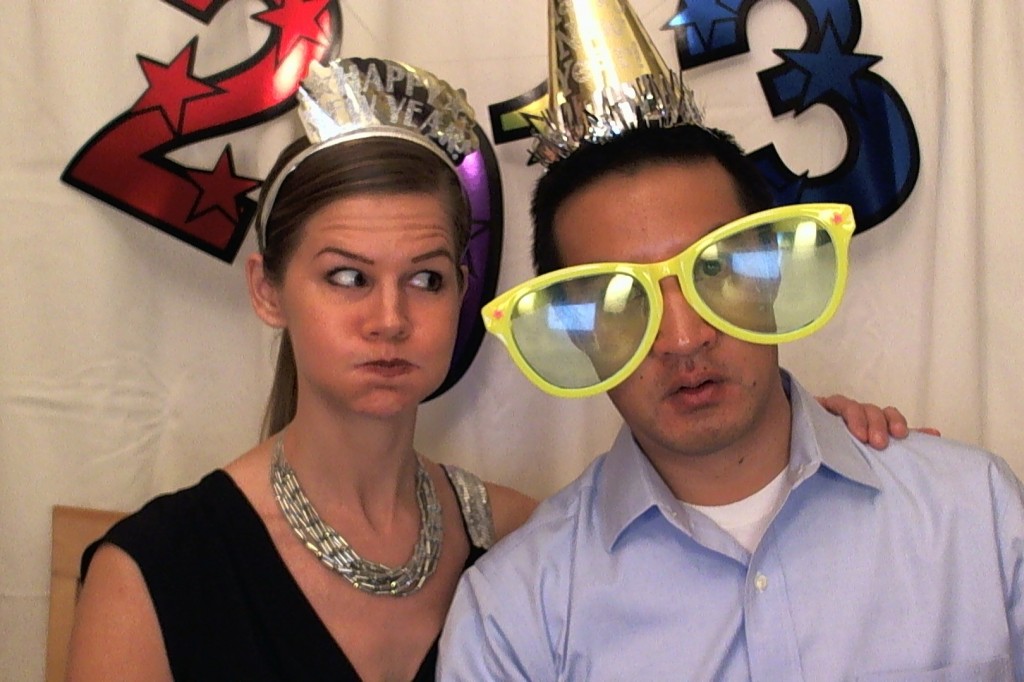
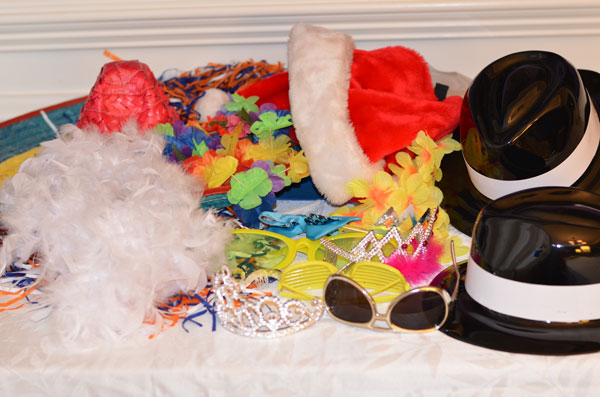
I happened to have a ton of funny props from my other video endeavors and they add some extra fun to the photobooth experience. I laid them out off camera view and to the side to contain them in a specific area and make readily accessible to change out between pictures.
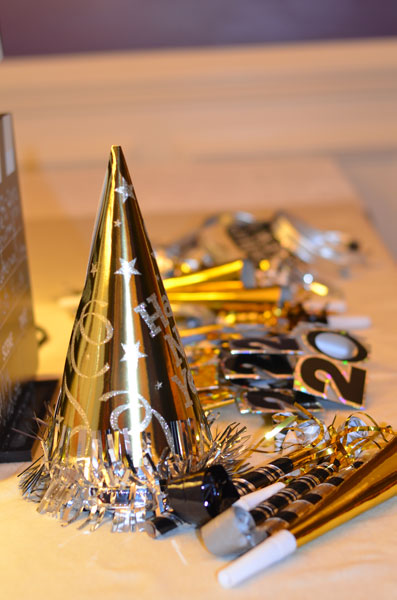
In addition, we laid out a bunch of New Year’s Eve themed noisemakers, glasses, tiaras, and party hats. This I laid out in an accessible place for party attendees whether they wanted to be in a picture or not.
Webcam setup for a DIY photobooth
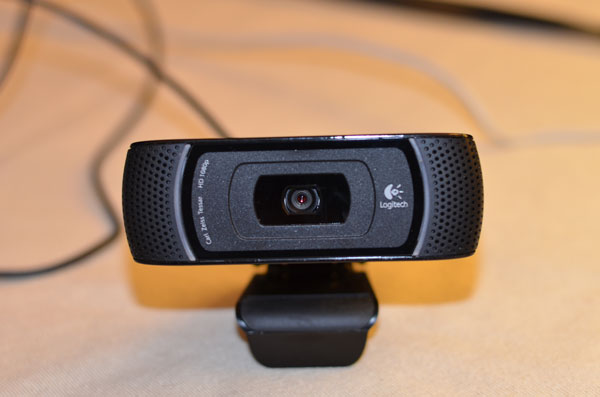
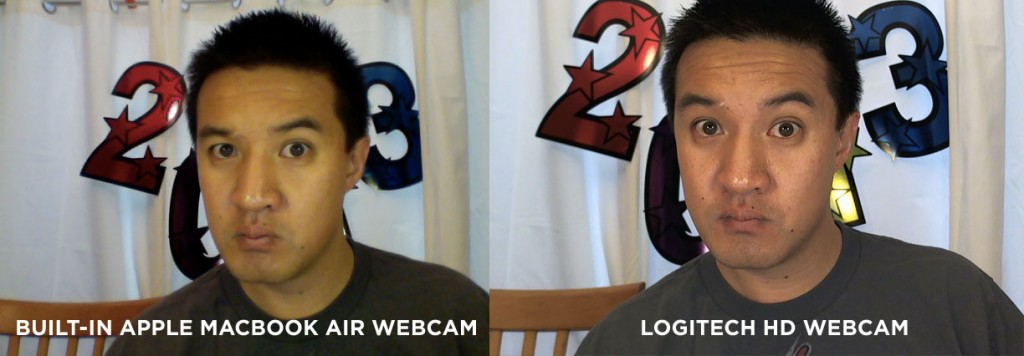
In the end I decided to use my Logitech HD webcam instead of the built-in webcam on my MacBook Air. The Logitech HD webcam I have shoots streaming video in 1080p but it also takes fantastic still shots thanks to its built-in Carl Zeiss lens. Take a look at the difference in picture quality between the built-in webcam on my MacBook Air and my Logitech HD webcam.
Pro Tip: Sometimes when a USB webcam is plugged into a Mac Photobooth will stall when first launched showing just a black screen. The workaround is to select the built-in webcam first and then switch to the external webcam. That will fix it.
About Printing
One of the great advantages of hiring a photobooth company for your party is the package typically comes with a photobooth operator (someone who runs the equipment and sanitizes the props) and unlimited printed photos.
I decided to not allow guests to print during my party basically because I didn’t want to pay for the extra ink and paper needed. But this is certainly a real possibility when making your own photobooth.
In my web searching to plan for this party I found a cool app called Curbly that uses your webcam to take 3 pictures in a row: much like those photobooth strips of pictures that everyone is used to seeing. It then also automatically prints to your printer. I tried it out and it was nice but one of my complaints was the app did not stretch fullscreen like Apple’s Photobooth does so I did not like the idea that everyone could just see what was on my desktop and my other files. Maybe for next year’s party I will do some more exploring.
About Sharing
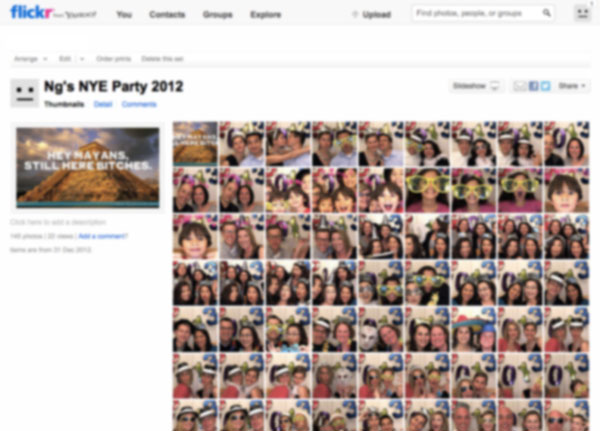
The good thing about social media is that you can share photos effortlessly and tag them mercilessly. Given the festive mood people tend to be at parties and the free flowing of adult beverages I did not want people panicking about pictures being uploaded. What I did instead was set up a new Flickr account and though out the night batch uploaded the pictures to a picture set. This gave my guests the opportunity to download them and repost on their social networks of choice themselves. In their goodie bags we handed out the url to the picture set to avoid any confusion.
My ambitious idea that didn’t work
While the photobooth feature was a success in our party there was one thing I wanted to try to achieve that didn’t pan out. During the night I set up a custom slideshow of events of 2012 that rotated on our tv. This was running through my AppleTV and pulling from a custom folder on my music server computer upstairs. What I really wanted to do was have my photobooth pictures dynamically add to that folder thus displaying pictures of the night on the television screen.
This didn’t work for a number of reasons. First, Photobooth (like iPhoto) hides the actual picture files from view. You can click and drag the thumbnails from the Photobooth app to your desktop, but the raw file is hidden.
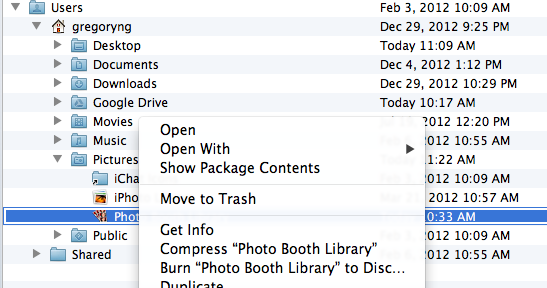
In order to unhide them you have to go to Users>Name>Pictures>Photo Booth Library and then control click to reveal “Show Package Contents”. Making an alias of this does not work and you can’t change the destination folder for the images so that was an issue.
The second issue is that AppleTV’s slideshow feature is really poor. So poor in fact that if you add images to a folder while the slideshow is running it will never incorporate the new images into the rotation.
After figuring that out and knowing I wanted to keep my slideshow going on the TV through my AppleTV I turned to Flickr. I found an app called FlickrBooth that claims to auto upload photobooth images to your Flickr account. This as great! I could set my AppleTV to play a slideshow of my Flickr photos and then use FlickrBooth. I am sorry to say that despite the fact you can still download FlickrBooth, it flat out doesn’t work.
I ended up resorting to not adding this feature this year. But I have 364 days to figure out how to do it for next year.
Conclusion
In the end, I did not spend one cent on this do it yourself photobooth. True, I bought New Year’s Eve props but I would have purchased them for our guests regardless of having a photobooth. I hope this information is helpful and you can create your own photobooth for your next party!
You may also like:
Gregory Ng
GOAL: Visit 100 National Parks as a family by 2020. Favorite Parks: Zion National Park, Mt Rainier National Park, Valley Forge National Historical Park
Follow Me:
Comments are closed.